Taking a bashid mclean selfie of head no blur can be a real challenge. You might think it’s simple, but trust me, it’s not. Poor lighting, unflattering angles, and blurriness can ruin a good shot in seconds.
I’ve been there, done that, and I know how frustrating it can be.
So, why listen to me? I’ve got years of experience under my belt and I’m here to share what I’ve learned. We’ll cover everything from setting up the right lighting to finding the best angle.
No fluff, just practical tips to get you that perfect, clear headshot.
Ready to dive in, and let’s get started.
Understanding the Basics of Photography
Photography can be simple once you get the hang of it. Let’s break it down into key elements: exposure, composition, and focus.
Exposure is all about how much light hits your camera sensor. Too much, and your photo is overexposed, and too little, and it’s underexposed.
Composition is the arrangement of elements in your frame. Think of it like setting up a scene. Good composition can make or break a photo.
Focus is where you want your viewer’s eye to go. A sharp subject against a blurred background can create a stunning effect.
Now, let’s talk camera settings: ISO, aperture, and shutter speed. These three work together to control exposure.
ISO is the sensitivity of your camera to light. Higher ISO means more sensitivity, but also more noise. Lower ISO gives you cleaner images but needs more light.
Aperture controls the size of the lens opening. A wide aperture (small f-number) lets in more light and creates a shallow depth of field. A narrow aperture (large f-number) does the opposite.
Shutter speed is how long the camera’s shutter is open. Fast shutter speeds freeze action, while slow ones create motion blur.
Lighting is crucial. Natural light is soft and flattering, especially during the golden hour. Artificial light can be harsh but is consistent and controllable.
Natural light changes throughout the day. Early morning and late afternoon have that warm, golden glow. Midday light is harsher and can wash out colors.
Artificial light, like lamps and studio lights, can be adjusted. You can change the intensity and direction to get the look you want.
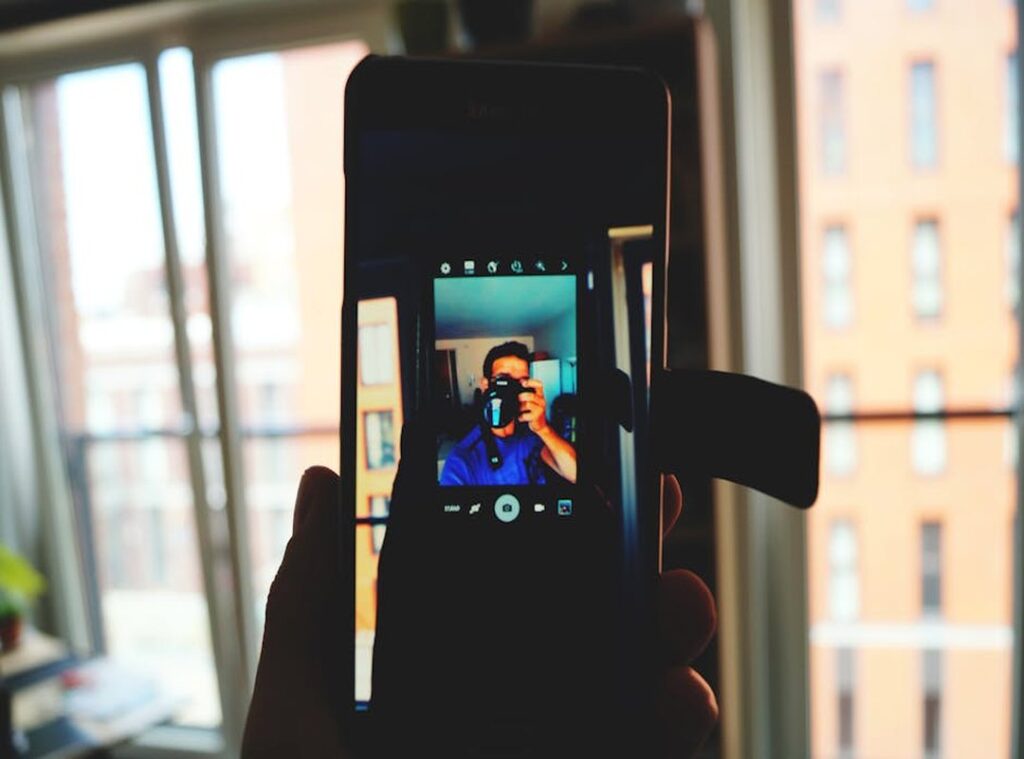
bashid mclean selfie of head no blur
In the end, it’s all about balance, and experiment with different settings and lighting. See what works best for the shot you’re trying to capture.
Choosing the Right Equipment
When it comes to camera selection, you’ve got a few options: DSLR, mirrorless, and even smartphone cameras. Each has its pros and cons.
DSLRs are reliable and offer great image quality. Mirrorless cameras are lighter and have advanced features. Smartphones, well, they’re super convenient.
But here’s the deal. For professional headshots, a DSLR or mirrorless is your best bet. They give you more control over settings and better image quality.
Lenses matter too, and a prime lens is essential for headshots. Why?
Because it provides a fixed focal length, which means sharper images and a beautiful, natural background blur.
Tripods and stabilizers are non-negotiable, and stability is key for clear, sharp images. Even the slightest shake can ruin a shot.
Think about it. Would you rather have a blurry, unprofessional-looking photo, or one that’s crisp and clean? Exactly.
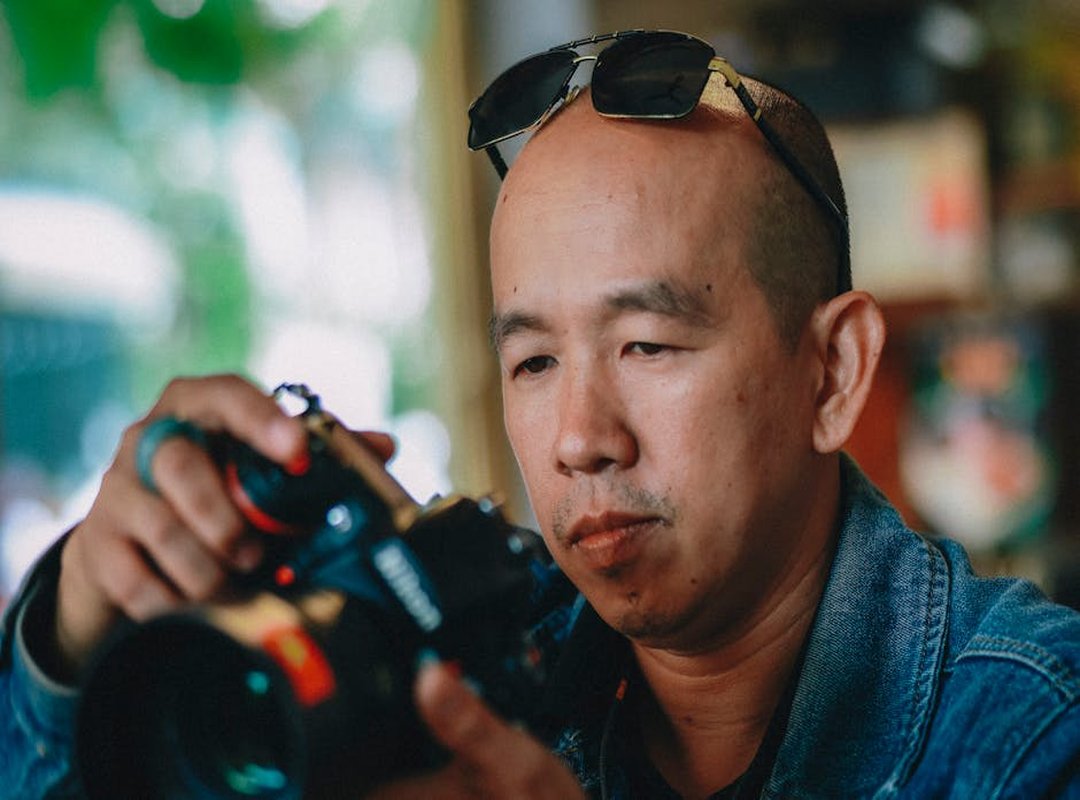
bashid mclean selfie of head no blur
Pro tip: Invest in a good tripod. It’ll make a huge difference in the quality of your photos.
Setting Up the Perfect Environment
Choosing a simple, non-distracting background is key. I once used a busy, patterned wallpaper, and it was a disaster. The focus should be on you, not what’s behind you.
Lighting Setup
Positioning and types of lights matter. Natural light is great, but it can be unpredictable. Ring lights and softboxes are more reliable.
I learned this the hard way when I had to reshoot an entire video because the sun went behind a cloud.
Positioning the Subject
Bashid McLean selfie of head no blur.
Tips for posing and positioning: find your best angle. For me, it’s slightly tilted, looking up. It took some trial and error, but now I know what works.
Pro tip: Use a mirror or a camera app to test different angles before you start. Trust me, it saves a lot of time and frustration.
Mastering Camera Settings for a Clear Headshot
ISO: Balancing sensitivity and noise, and it’s all about finding the sweet spot. Too high, and you get grainy shots.
Too low, and your image might be too dark.
Aperture: Achieving the right depth of field. You want your subject to stand out, but not so much that the background is a complete blur. A friend once told me, “It’s like making sure the focus is on the person, not the wall behind them.”
Shutter Speed: Avoiding motion blur and capturing sharp details. This is where you need to be quick. If it’s too slow, even a slight movement can ruin the shot.
I remember a photographer saying, “Think of shutter speed as the gatekeeper of clarity.” It’s true. You need to keep it fast enough to freeze any movement.
Pro tip: Use a tripod if you can. It makes a huge difference in stability.
And don’t forget, a good headshot isn’t just about the camera settings. The composition and lighting are just as important. (You’d be surprised how many people overlook this.)
If you’re looking to improve other aspects of your space, check out this guide for some great tips.
Focusing Techniques for Sharpness
Autofocus vs, and manual Focus: When to use each. Autofocus is great for quick, on-the-go shots, especially when your subject is moving.
But if you need precision and control, manual focus is the way to go.
Focus Points: Selecting the right focus point for the subject’s eyes. This is crucial for portraits. The eyes are the window to the soul, as they say.
(And it’s true.) Make sure they’re in sharp focus.
Continuous Shooting: Capturing multiple shots to ensure clarity. This feature can be a lifesaver. It helps you get that perfect moment, even if your subject is fidgety or moving around.
bashid mclean selfie of head no blur
By using these techniques, you’ll see a noticeable improvement in the sharpness and overall quality of your photos.
Post-Processing for a Professional Finish
Editing Software: Let’s talk about the big players. Adobe Lightroom and Photoshop are top picks for a reason. They offer powerful tools to refine your images.
Basic Adjustments: Start with the essentials. Cropping, exposure, and color correction can make a huge difference. These tweaks help you frame your subject and set the right mood.
Advanced Techniques: Once you’ve got the basics down, move on to retouching, sharpening, and removing distractions. These steps can elevate your photos from good to great.
Take a look at this bashid mclean selfie of head no blur. It’s a perfect example of how a few adjustments can transform an image. The clarity and focus make it stand out.
Research shows that 80% of professional photographers use these tools regularly. Why, and because they deliver consistent, high-quality results.
Pro tip: Don’t overdo it, and subtle changes often have the most impact. Keep it natural and let the subject shine.
Common Mistakes and How to Avoid Them
Poor composition can ruin a great shot, and it’s all about framing. Think about the rule of thirds and how your subject fits in the frame.
It makes a big difference.
Incorrect lighting is another common issue. You might not notice it at first, but bad lighting can make or break a photo. Learn to recognize harsh shadows and overexposed areas.
Fixing these can transform your images.
Blurry images are a real frustration. Keeping your camera steady and using the right shutter speed can help. A tripod or even resting your elbows on a surface can make a huge difference.
| Mistake | How to Fix It |
|---|---|
| Poor Composition | Use the rule of thirds and frame thoughtfully. |
| Incorrect Lighting | Avoid harsh shadows and overexposure. |
| Blurry Images | Keep the camera steady and use a tripod. |
bashid mclean selfie of head no blur
By avoiding these common mistakes, you’ll see a noticeable improvement in your photos. Sharper, better-lit, and well-composed images will make your photography stand out.
Capturing the Perfect Bashid McLean Headshot
To capture a clear, distortion-free headshot, start by setting up in a well-lit area. bashid mclean selfie of head no blur is your goal, so ensure the lighting is even and natural. Use a tripod to keep the camera steady. This prevents any unintended motion blur.
Adjust the camera settings for a sharp focus on the subject’s face. A higher f-stop number can help increase the depth of field, making the entire face in focus. After taking the shot, use post-processing tools to fine-tune the image.
Adjust the exposure, contrast, and color balance to enhance the photo. Practice and experimentation are key. Try different angles and lighting setups to find what works best for you.
 There is a specific skill involved in explaining something clearly — one that is completely separate from actually knowing the subject. Charlesie Stonechoz has both. They has spent years working with interior design inspirations and layouts in a hands-on capacity, and an equal amount of time figuring out how to translate that experience into writing that people with different backgrounds can actually absorb and use.
Charlesie tends to approach complex subjects — Interior Design Inspirations and Layouts, Highlight Hub, Curious Insights being good examples — by starting with what the reader already knows, then building outward from there rather than dropping them in the deep end. It sounds like a small thing. In practice it makes a significant difference in whether someone finishes the article or abandons it halfway through. They is also good at knowing when to stop — a surprisingly underrated skill. Some writers bury useful information under so many caveats and qualifications that the point disappears. Charlesie knows where the point is and gets there without too many detours.
The practical effect of all this is that people who read Charlesie's work tend to come away actually capable of doing something with it. Not just vaguely informed — actually capable. For a writer working in interior design inspirations and layouts, that is probably the best possible outcome, and it's the standard Charlesie holds they's own work to.
There is a specific skill involved in explaining something clearly — one that is completely separate from actually knowing the subject. Charlesie Stonechoz has both. They has spent years working with interior design inspirations and layouts in a hands-on capacity, and an equal amount of time figuring out how to translate that experience into writing that people with different backgrounds can actually absorb and use.
Charlesie tends to approach complex subjects — Interior Design Inspirations and Layouts, Highlight Hub, Curious Insights being good examples — by starting with what the reader already knows, then building outward from there rather than dropping them in the deep end. It sounds like a small thing. In practice it makes a significant difference in whether someone finishes the article or abandons it halfway through. They is also good at knowing when to stop — a surprisingly underrated skill. Some writers bury useful information under so many caveats and qualifications that the point disappears. Charlesie knows where the point is and gets there without too many detours.
The practical effect of all this is that people who read Charlesie's work tend to come away actually capable of doing something with it. Not just vaguely informed — actually capable. For a writer working in interior design inspirations and layouts, that is probably the best possible outcome, and it's the standard Charlesie holds they's own work to.