Creating a home that feels warm, functional, and uniquely yours can feel overwhelming—especially with endless design trends and limited space to work with. If you’re searching for practical ways to elevate your interiors while keeping them cozy and personal, you’re in the right place. This article is designed to help you transform everyday spaces into inviting sanctuaries with smart styling ideas, clever space-saving solutions, and DIY personalized home decor inspiration that reflects your taste.
We’ve carefully curated insights rooted in real-world design principles, current interior trends, and practical home organization strategies to ensure every idea is both beautiful and achievable. Whether you’re refreshing a small apartment, redesigning a single room, or simply looking for thoughtful decorative touches, you’ll find approachable concepts that balance comfort, creativity, and functionality. Let’s explore how to turn your living space into a place that truly feels like home.
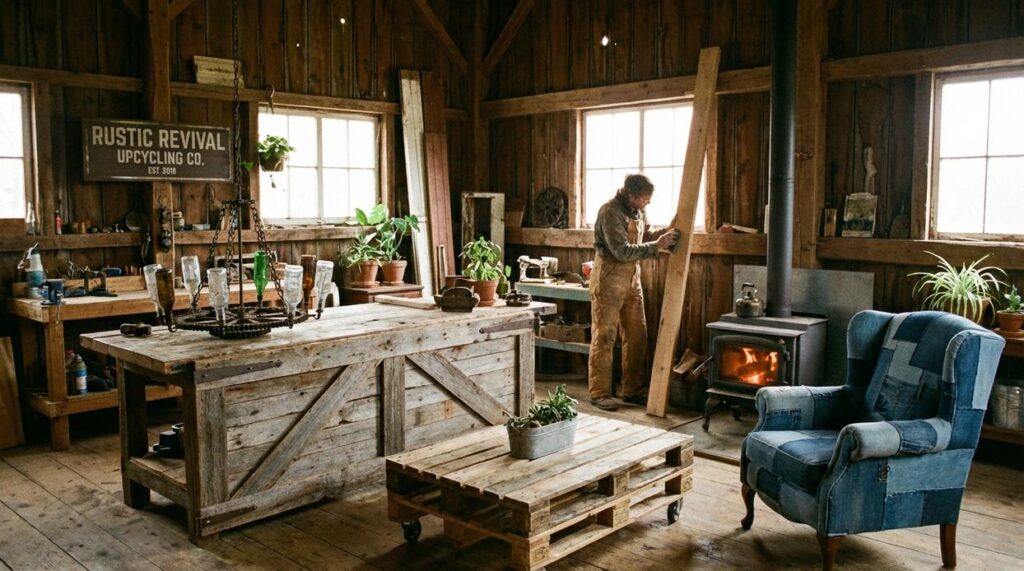
Breathe Life into Your Home with Handcrafted Decor
Finding decor that feels uniquely yours—especially in small Brooklyn apartments or cozy Midwest bungalows—can feel impossible (big-box stores rarely whisper “this was made for you”). That’s where DIY personalized home decor changes the game.
First, craft a reclaimed wood wall shelf using locally sourced timber—ask your neighborhood lumber yard for offcuts. Sand, stain, mount with brackets rated for drywall.
Second, create hand-poured soy candles in thrifted mason jars (a farmer’s market favorite).
Third, sew custom cushion covers from regional fabric prints.
– CAPS
Pro tip: Measure twice, drill once—CONSTRUCTION 101.
Setting Up Your Creative Workspace: The Essentials
Creating a workspace for DIY personalized home decor doesn’t require a Pinterest-perfect studio (though we’ve all saved those dreamy photos). What you do need is a reliable core toolkit:
- Craft glue
- Acrylic paints
- A range of brushes
- Self-healing cutting mat
- Sharp utility knife
Are these the only essentials? Honestly, that’s debated. Some crafters swear by specialty tools, but starting simple keeps things flexible (and budget-friendly).
Surface preparation is key. Glass should be cleaned with alcohol to remove oils. Wood often benefits from light sanding and primer. Fabric may need pre-washing to avoid shrinkage. Skipping prep can lead to peeling or uneven finishes—frustrating, but fixable.
When finding your aesthetic, choose a cohesive color palette—modern farmhouse neutrals, minimalist blacks and whites, or layered bohemian tones. I can’t promise there’s one “right” style. But when colors echo your existing decor, your projects feel intentional rather than accidental.
Project 1: Rustic Charm with Upcycled Jar Organizers
There’s something undeniably satisfying about turning yesterday’s pasta sauce jar into a Pinterest-worthy organizer (and saving a few dollars while you’re at it). This project blends charm and practicality—perfect for shelves, vanities, or cozy desk corners.
Materials You’ll Need
| Item | Purpose |
|——|———|
| Clean glass jars | Base structure |
| Chalk paint | Matte, vintage-style finish |
| Fine-grit sandpaper | Distressing edges |
| Twine | Rustic texture accent |
| Matte sealant spray | Protective top coat |
Chalk paint is a thick, ultra-matte paint known for adhering to surfaces without heavy prep. It’s a favorite in farmhouse-style interiors (think Joanna Gaines vibes).
Step 1 – Painting the Base
Apply two thin coats of chalk paint using smooth, even strokes. Let the first coat dry fully before adding the second to achieve an opaque finish. Thin layers prevent streaking and cracking (patience pays off here).
Some argue that spray paint is faster. True—but chalk paint offers richer texture and better control for small projects.
Step 2 – Creating the Distressed Look
Once dry, lightly sand edges and raised details with fine-grit sandpaper. This reveals hints of glass underneath, creating a worn, time-softened appearance. Distressing means intentionally aging a surface for character.
Step 3 – Finishing Touches
Seal with a matte spray to protect against chips. Wrap twine around the rim and secure with a discreet knot.
Pro tip: Add a tiny dried lavender sprig under the twine for subtle fragrance.
This kind of DIY personalized home decor is gaining popularity, and I predict (speculation) rustic upcycling will grow even more as sustainability trends rise (source: Statista home décor sustainability reports).
Want your jars to match your broader aesthetic? Explore how to discover your personal interior design style.
Project 2: Cozy Comfort with No-Sew Fabric Coasters
I once ruined a wooden coffee table with a sweating glass of lemonade (summer optimism, meet condensation). That tiny watermark pushed me into the world of DIY personalized home decor, and these no-sew fabric coasters became my favorite quick fix.
Goal: Craft personalized, absorbent fabric coasters without needing a sewing machine.
Materials Needed: Cotton fabric in your favorite patterns, cork tiles or thick felt, fabric glue, and a rotary cutter or sharp scissors. (Pro tip: prewash cotton to prevent future shrinkage.)
Step 1 – Cutting Your Materials: Cut both fabric and cork or felt into precise 4×4-inch squares, ensuring edges align perfectly.
Step 2 – Assembling the Coaster: Apply a thin, even layer of fabric glue to the base, then smoothly press the fabric on top, smoothing out wrinkles from center outward.
Step 3 – Sealing the Edges: Run a small bead of glue along the fabric edges to prevent fraying and create a clean, durable finish.
Let them dry overnight, then test with your favorite mug (mine’s chipped, but charming). Simple, cozy, and table-saving.
They also make thoughtful housewarming gifts for friends who appreciate handmade touches.
Customize colors to match seasons.
Project 3: Modern Minimalist Textured Wall Art
Sometimes the most striking art pieces aren’t painted—they’re sculpted. Over the past few years, especially since 2020 when minimalist interiors surged in popularity (Architectural Digest, 2021), textured wall art has become a go-to for high-impact style without advanced painting skills.
Materials Needed:
- Blank canvas
- Joint compound or spackle (a paste used to fill and smooth surfaces)
- Putty knife or trowel
- One or two acrylic paint colors
Step 1 – Applying the Texture
First, spread the joint compound generously across your canvas. Then, using your putty knife, create arches, clean lines, or soft swoops. Think slow, intentional movements—this part usually takes about 20–30 minutes. (If it looks imperfect, good—that’s the charm.) Let it dry completely, which can take 12–24 hours depending on thickness.
Step 2 – Painting Your Design
Once hardened, paint the entire surface in a neutral base like warm white or soft beige. This unifies the texture and creates that gallery-style finish.
Step 3 – Adding an Accent (Optional)
Finally, lightly dry-brush a second color over raised areas to highlight dimension. The result feels custom and elevated—proof that DIY personalized home decor can look anything but homemade.
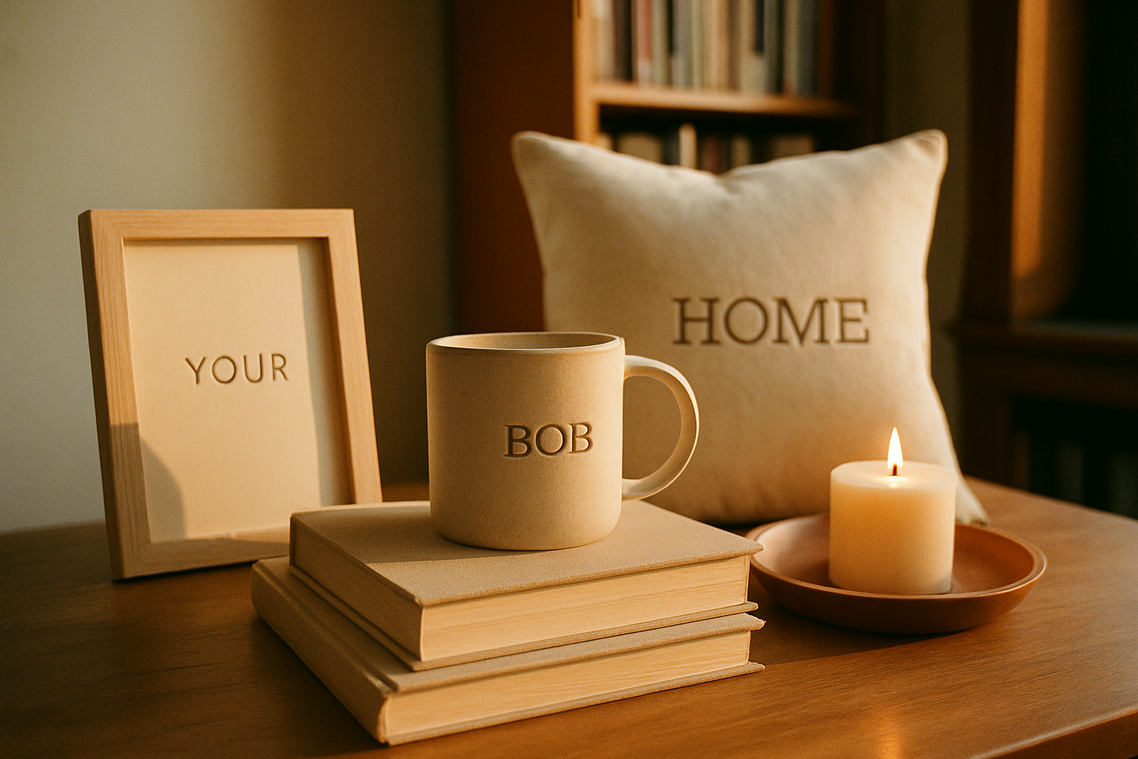
Your Home, Crafted by You
You’ve learned the basics—now it’s time to use them. “I never thought I could make something this beautiful,” a friend told me, holding her handmade frame. That’s the shift. Instead of buying generic decor, you’re creating meaning. Some argue store-bought is easier and faster. Fair. But easier rarely feels personal (and fast rarely feels memorable). DIY personalized home decor proves that simple materials plus intention equal character. So, choose one project. Gather supplies. Turn on music. As you begin, remember: “This feels like us,” is the goal. And you’ll see your space differently from now.
Create a Home That Finally Feels Like You
You came here looking for ways to transform your space into something warmer, more functional, and uniquely yours. Now you have the inspiration, ideas, and practical strategies to make it happen.
A home that feels cluttered, impersonal, or uninspiring can quietly drain your energy every single day. But with thoughtful styling, smart space-saving hacks, and DIY personalized home decor, you can turn even the smallest corner into something meaningful and beautiful.
Don’t let your space stay “almost right.” Take action today. Start with one room, one wall, or even one small project. Explore more cozy living concepts, try a hands-on decor upgrade, and create a space that truly reflects you.
Thousands of home lovers trust us for practical, creative ideas that actually work. Ready to fall in love with your home again? Dive into your next project now and make your space feel like home—finally.